TEI 2010
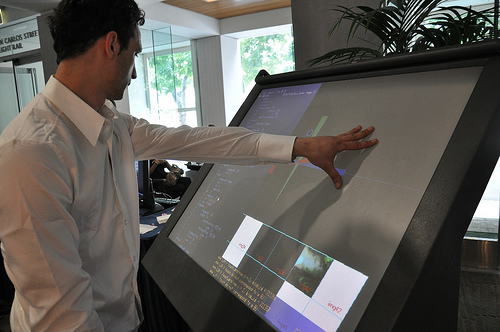
A few weeks ago I attended TEI’10 hosted at the MIT Medialab. “TEI, the conference on tangible, embedded, and embodied interaction, is about HCI...
A software engineer who is passionate about mobile apps, game development and data visualizations.
I'm a former Fellow of the SDR Lab at Harvard University (SEAS) and the founder of Epic Windmill, a software company that develops apps and games for mobile devices.
A few weeks ago I attended TEI’10 hosted at the MIT Medialab. “TEI, the conference on tangible, embedded, and embodied interaction, is about HCI...
This years Tabletop 2010 conference took place in Banff, Canada. Unfortunately I could not attend the conference on interactive tabletop and sur...
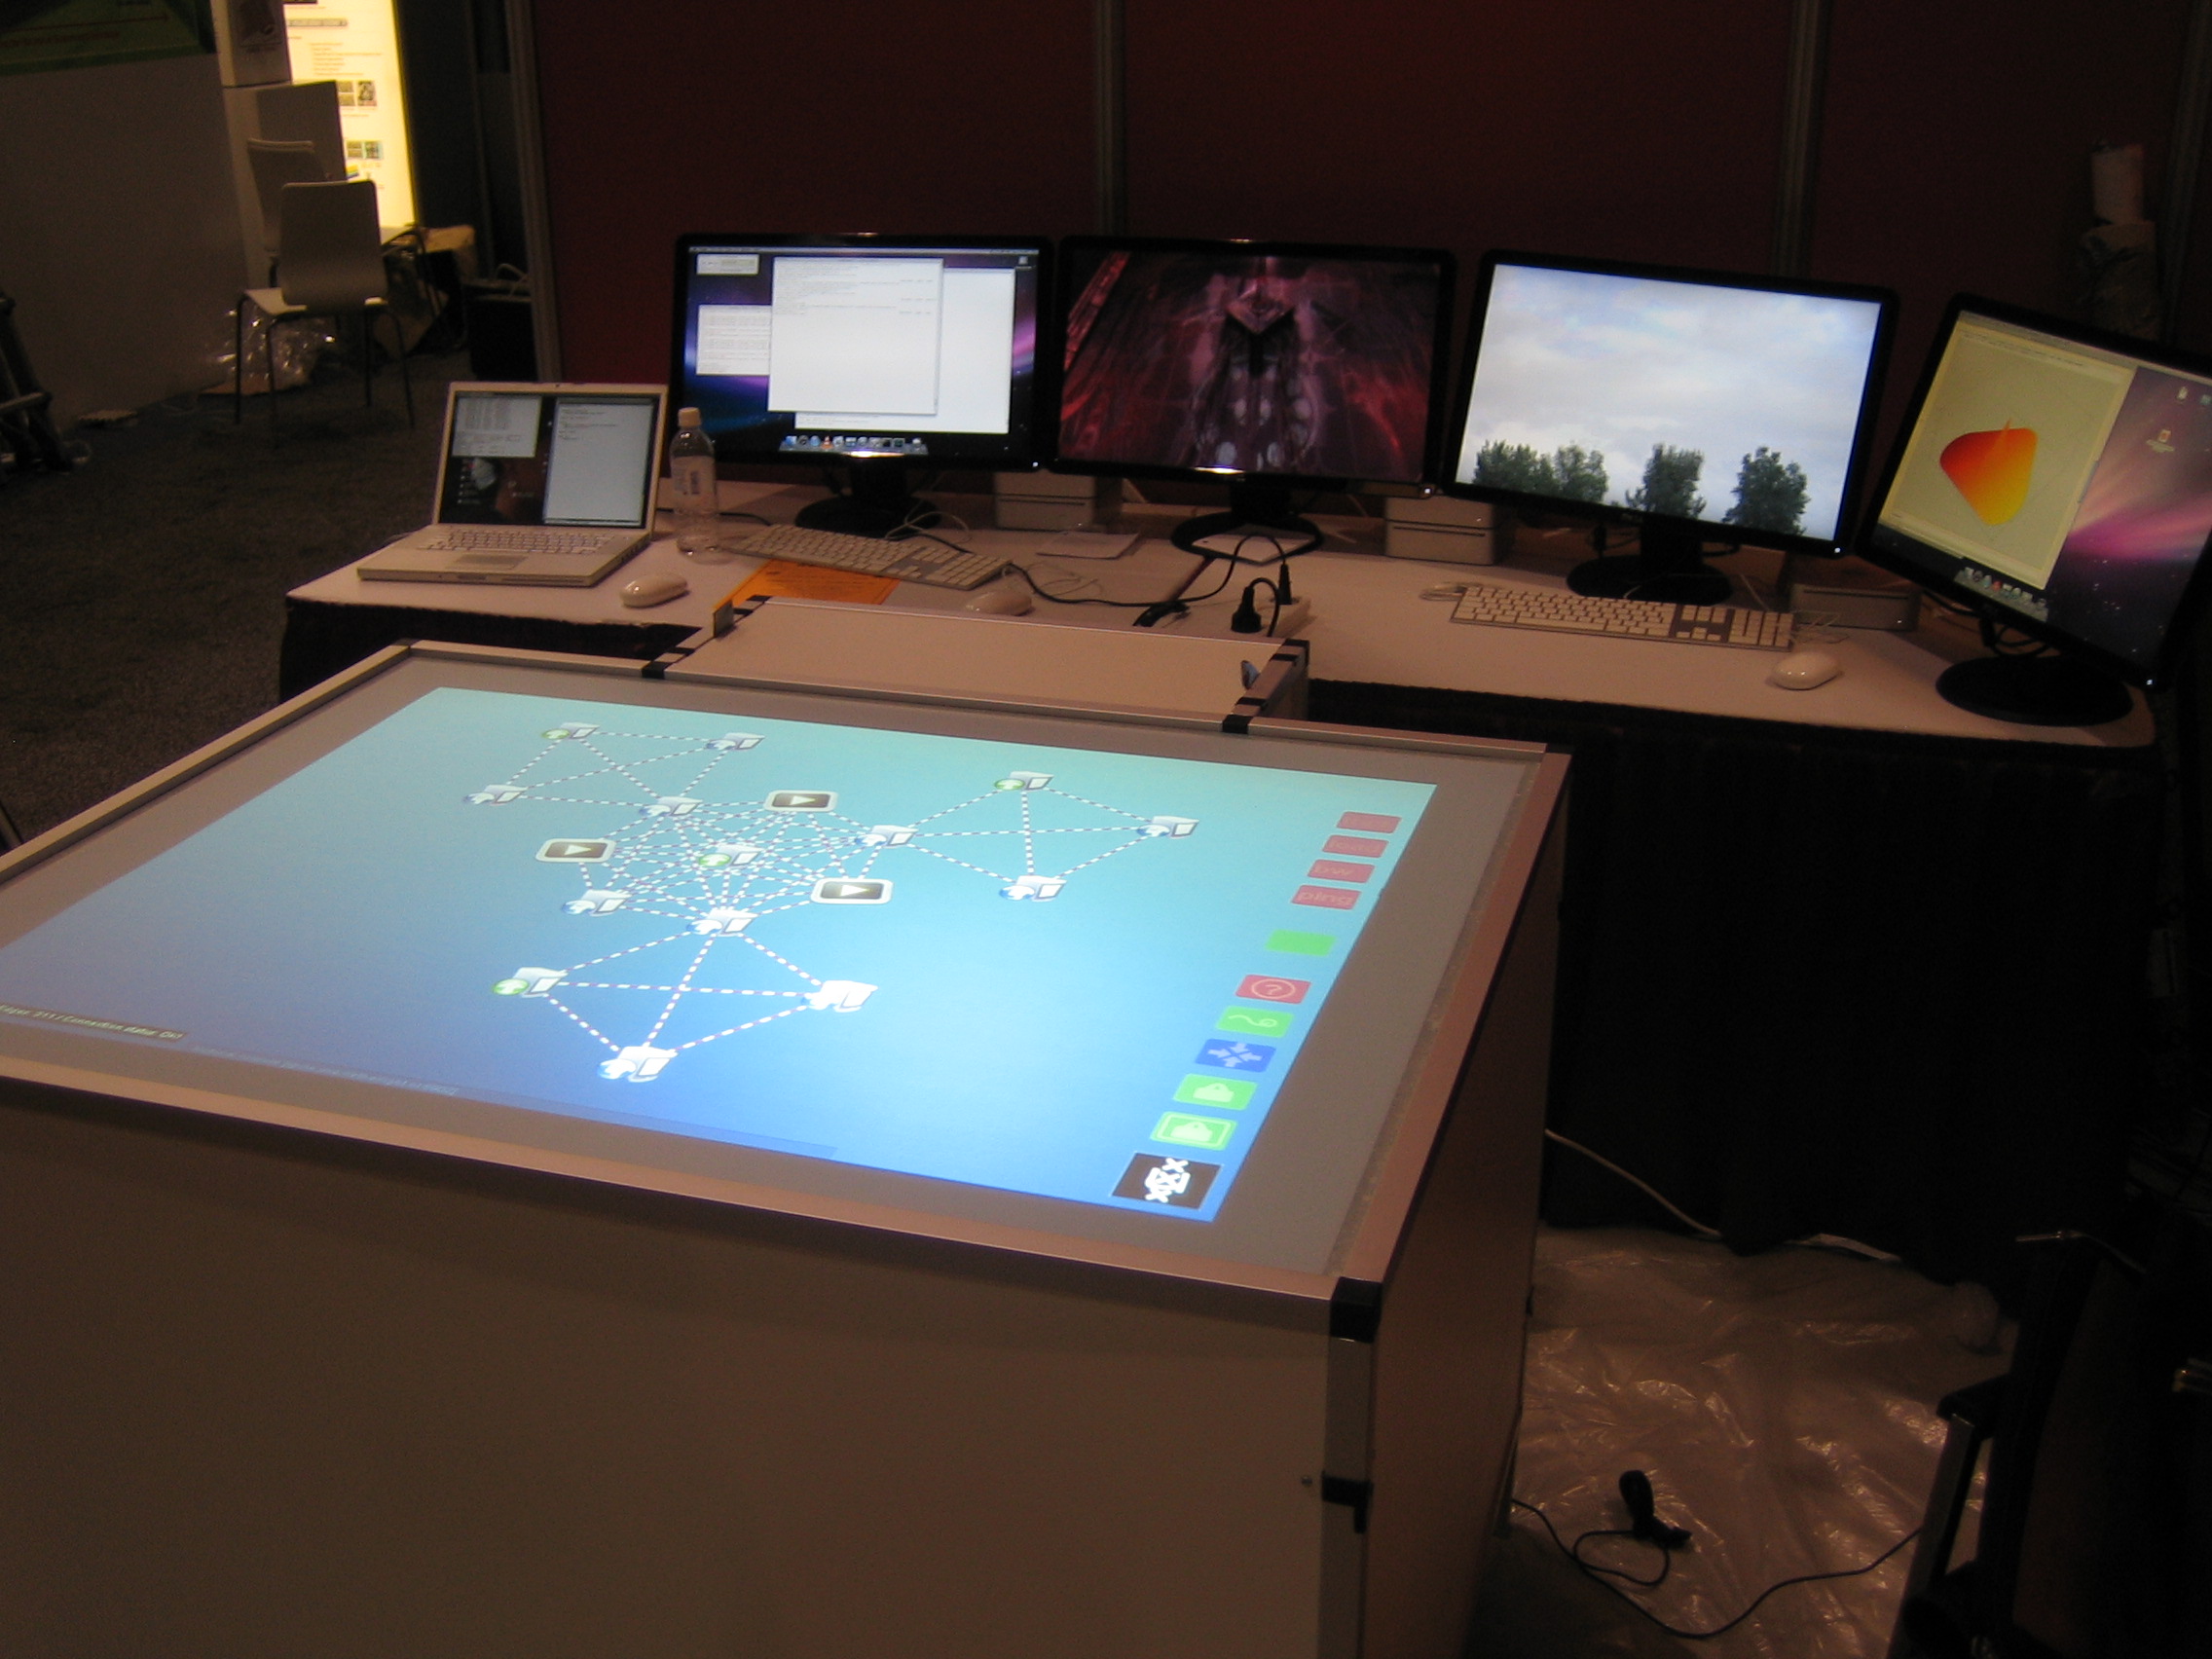
Saying goodbye Lots happened the past year, the most notable projects I have worked on as a scientific programmer were “Interactive Networks” (a c...
NUI Book To help out fellow multi-touch users and developers, the NUI Group community decided to create a book sharing information about multi-tou...
Changelog for v3: Fixed compatibility issue with Adobe AIR 1.5 (Fullscreen bug) This version should autodetect your screensize to support a...
It has been a while since my last blog post, so I will try to catch up a bit. Earlier this year, Chris Moore invited me to join the ...
November last year we presented the Interactive Networks concept at Supercomputing 2008. Recently I got hold of more photo and video content. Phot...
A few months ago Google and T-mobile introduced the T-mobile G1 (aka googlephone). What makes this smartphone so special, is the fact that the oper...
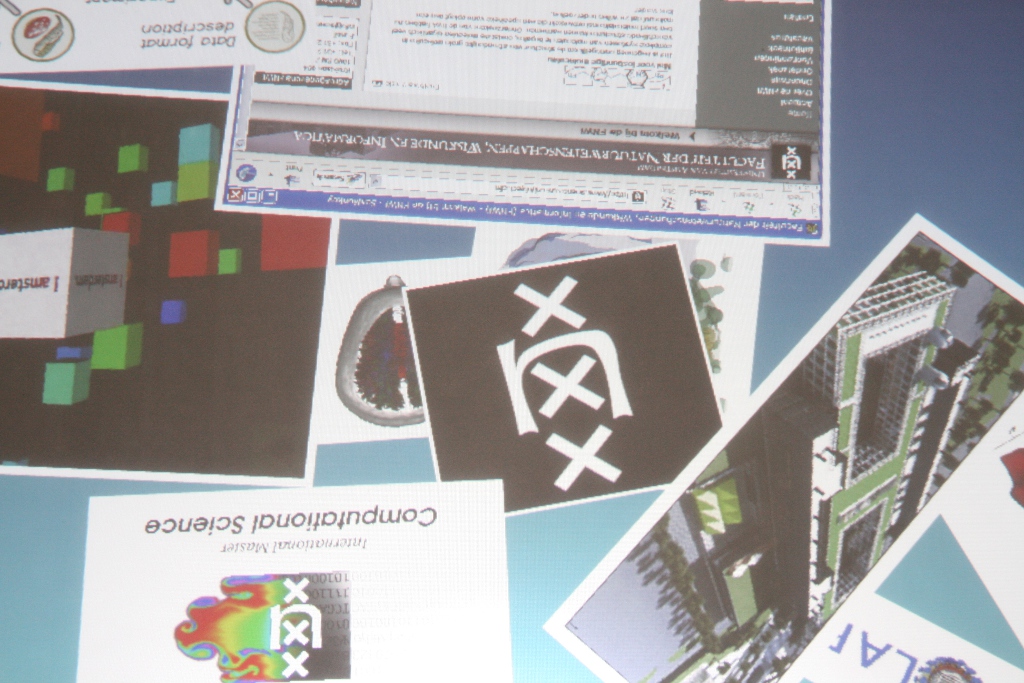
After my graduation in July, I was asked to join the Scientific Visualization and Virtual Reality group at the University of Amsterdam. The project...
Tommorow the 3rd edition of IEEE Tabletop will take place in Amsterdam. On the first day of the conference there will be a bootcamp ...
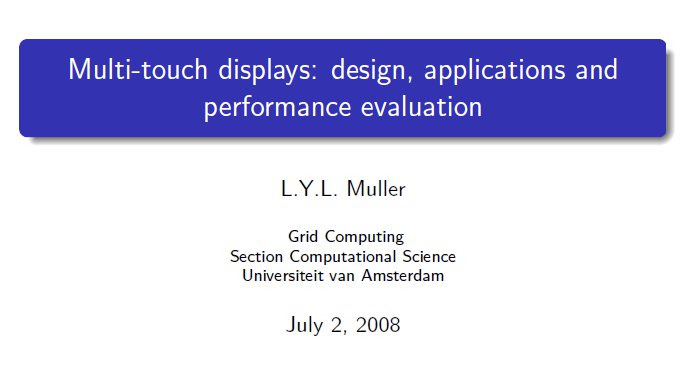
For those who are interested, I have uploaded my master’s thesis and final presentation. 1. Master’s thesis: Multi-touch displays: design, app...
After almost a year, I finally finished my thesis and presented it. A brief overview of my work can be found in the video below. The thesis itself ...
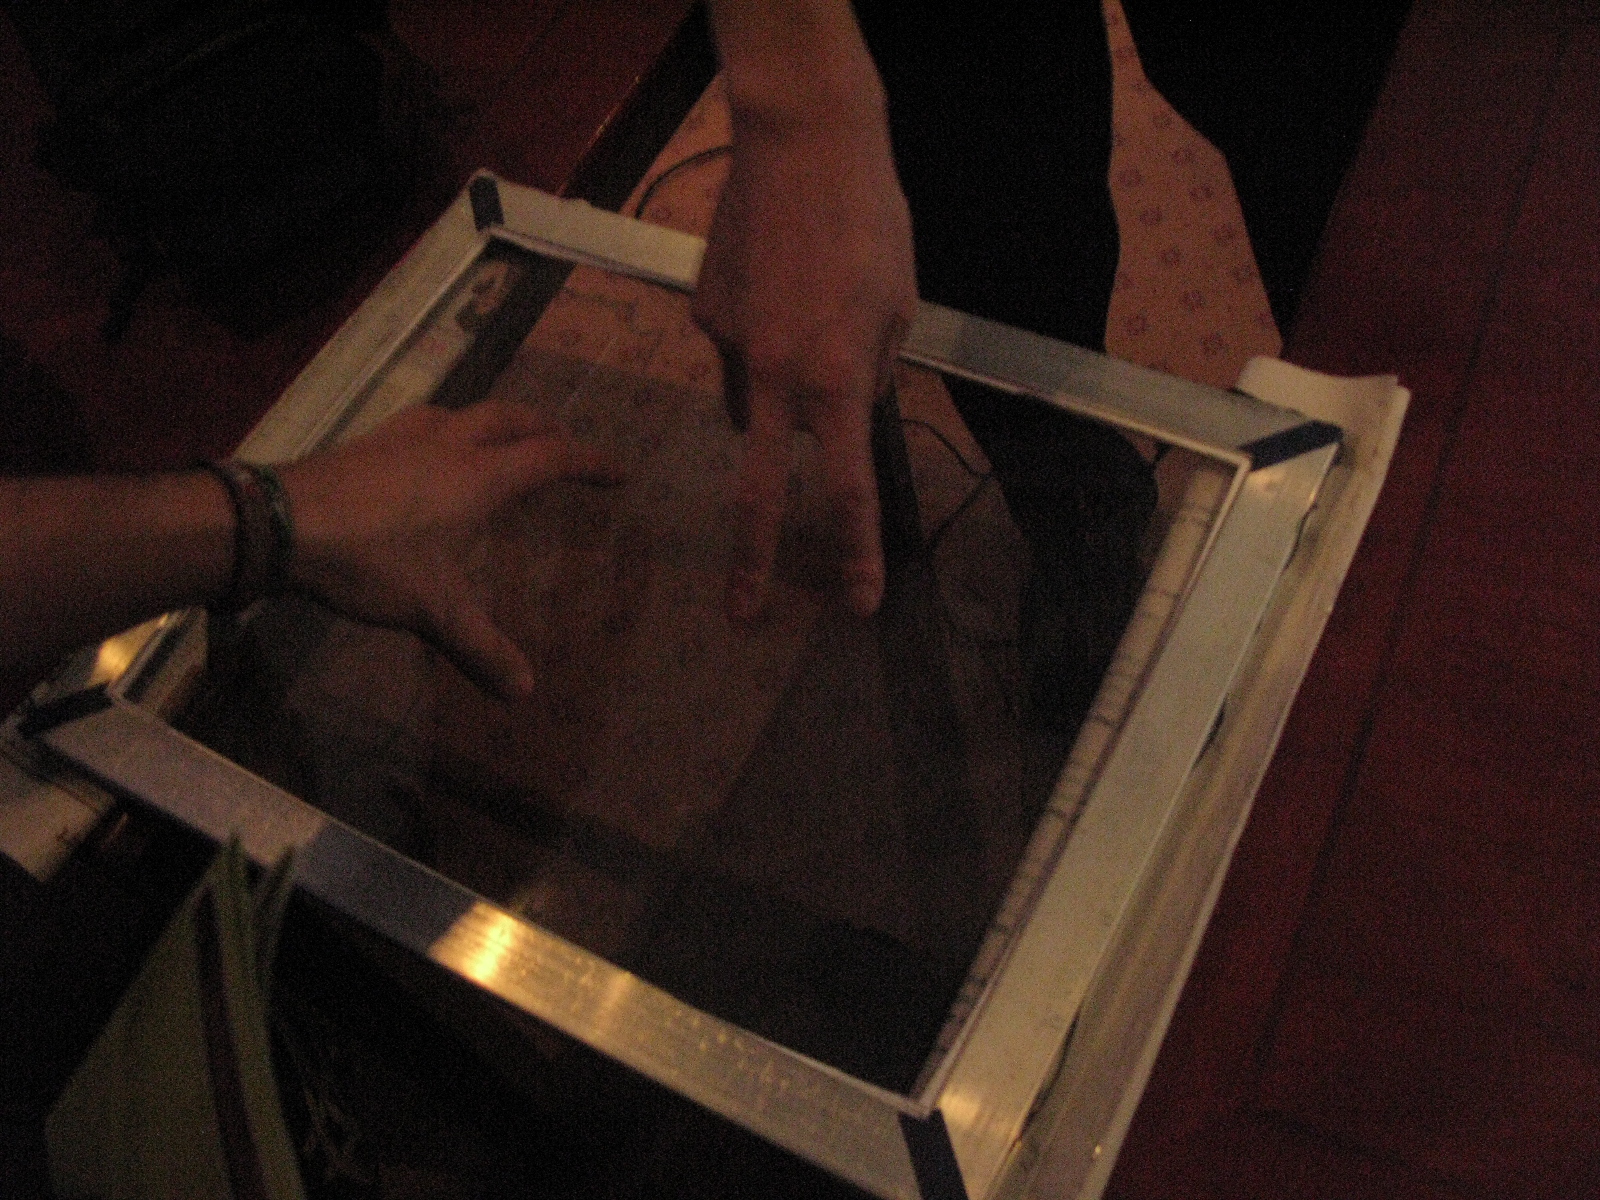
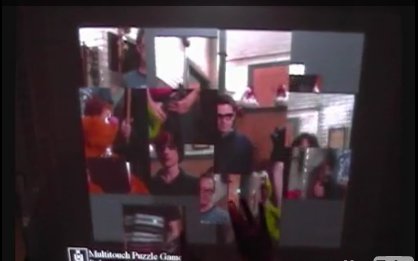
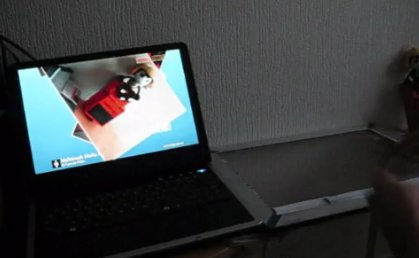
The same game I have showed here but this time played on the multi-touch table. p.s. Sorry for the ending 😛 it wasn’t me!
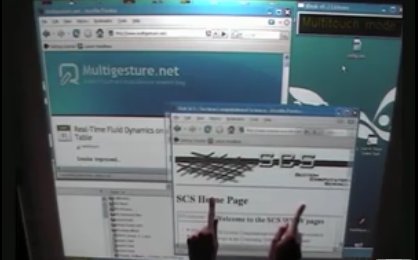
Last year I demonstrated how Windows XP could be (ab)used with multi-touch interaction. A few weeks ago I made some adjustments to make it compati...
Touchlib A few weeks ago I was busy tweaking the Touchlib sourcecode and noticed a bug/feature in the code which caused the image processing pipel...
Smoke improved… One of the demo applications which comes with Touchlib is Smoke. The technique which is used to create ‘smoke’ is based on the alg...
Minor fixes: – Fullscreen should be working now – It is should be possible to use any screen resolution now (previous version used 1024 x 768, hard...
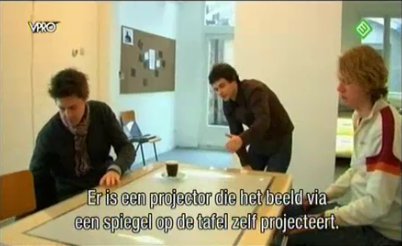
My 2 minutes of fame… Last saturday MMA Pro was presented on national television (NED3, VPRO) in the show called “In de ban van ‘t ding”. The docu...